Creating/editing a course
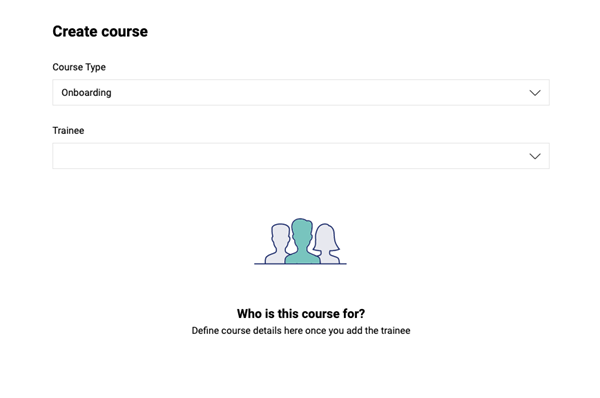
To create a new course, go to
All courses > Overview and click on
Create course. You will see the following image:
To edit the course, open the course details from the course overview and click on
Edit.
Course and participant type
First change
course type, which is preset to “onboarding”. As standard, we offer customers the following types:
- Candidates – used to provide information to participants of a selection process.
- Preboarding – future employees can gain more information on the company and provide all necessary documents prior to starting.
- Onboarding – starter training for new employees.
- Employee education – the continuous education of current employees.
Having created a course, it is then impossible to change its type.
Choose
trainee – the user, who is to take the course.
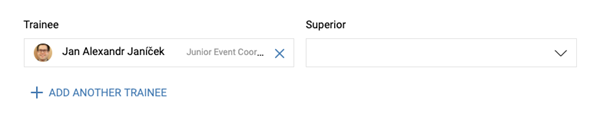
The course can be created for one or more trainees.
For each trainee, a
supervisor can be chosen (if this hasn’t already been pre-filled in, based on the classification of the employee within the organization structure). The trainee’s supervisor will have access to the course and will be able to follow the progress. Should any tasks require the help of the supervisor, they will be automatically assigned to that particular selected individual.
Course details
This section displays the basic course details.

Choose
course name, for example, Your onboarding, John.
Introduction text may contain basic information about the course or a personal message. In order to avoid having to think up new text each time, it can be pre-filled in for each course type and will automatically fill the field when a course is created.
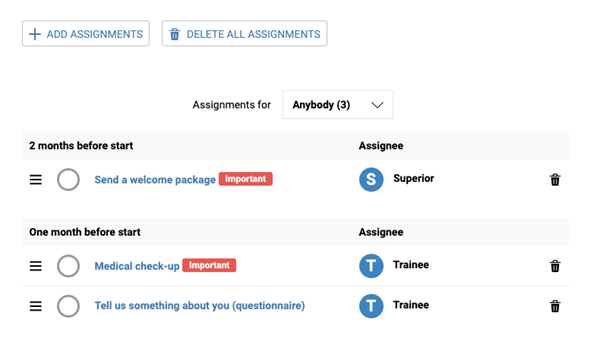
Assignment selection
This section allows you to allocate assignments from the templates to the course.
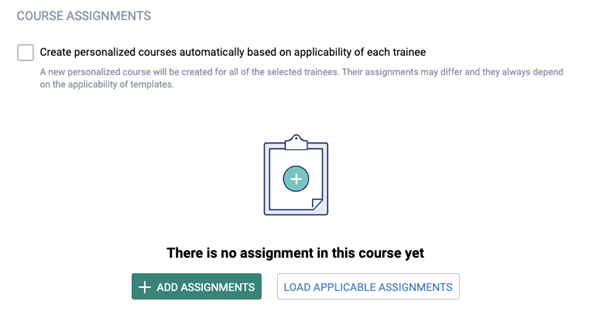
If the option
Create personalized courses automatically, based on the applicability of each trainee is marked, there is no need to add assignments to the course automatically, since, based on the classification of the trainee within the organizational structure, they will be chosen automatically by the system from the relevant templates. These relevant tasks can also be retrieved by clicking on
Load applicable assignments.
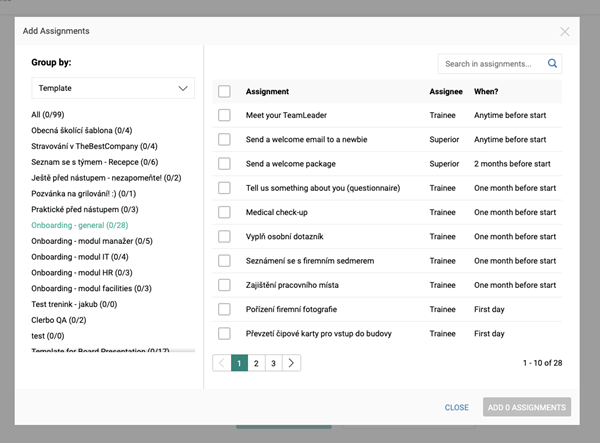
Assignments can be added manually to a course. By clicking on
Add assignments, a modal window will pop up, allowing the selection of assignments from existing templates.
Having added assignments, they then appear in a list on the page containing the course creation form. Within the list, it is possible to change the order of the assignments and to filter them based on their allocation. Following course creation, the relative allocation (e.g.
Trainee or
Supervisor) will be completed according to the above information on the trainee.
Course invitation
If this option is marked, other planning options will appear. Newcomers who have not yet signed in to Clerbo and do not have an activated account will receive an email invitation with a link to password setup. Users with a password already set up will receive an email invitation with a link to the created course.
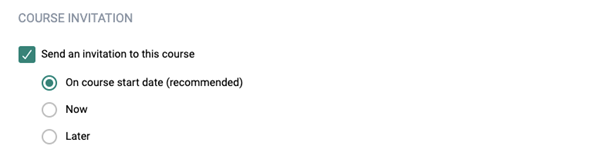
If the start date has been set for a date
in the past and the option
On the start day of the course has been marked, the invitation will not be dispatched. In this case, we recommend that you take advantage of
immediate dispatch, or that you plan dispatch for a
later date.
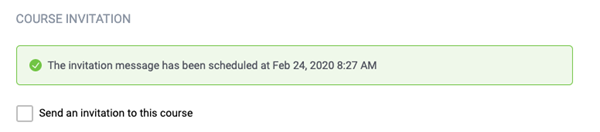
When editing a course, this section contains information on the last course invitation dispatched.
To create a course and dispatch an invitation (if so set up), confirm the form by clicking on
Create.